Install your tracking
Once a conversion exists, connect it to your site or server. Three methods, same result. Server-side is the most accurate and the one to choose when you can.
HUB asks for the method first, in step 1 of the conversion wizard, because it decides the code you receive at the end.
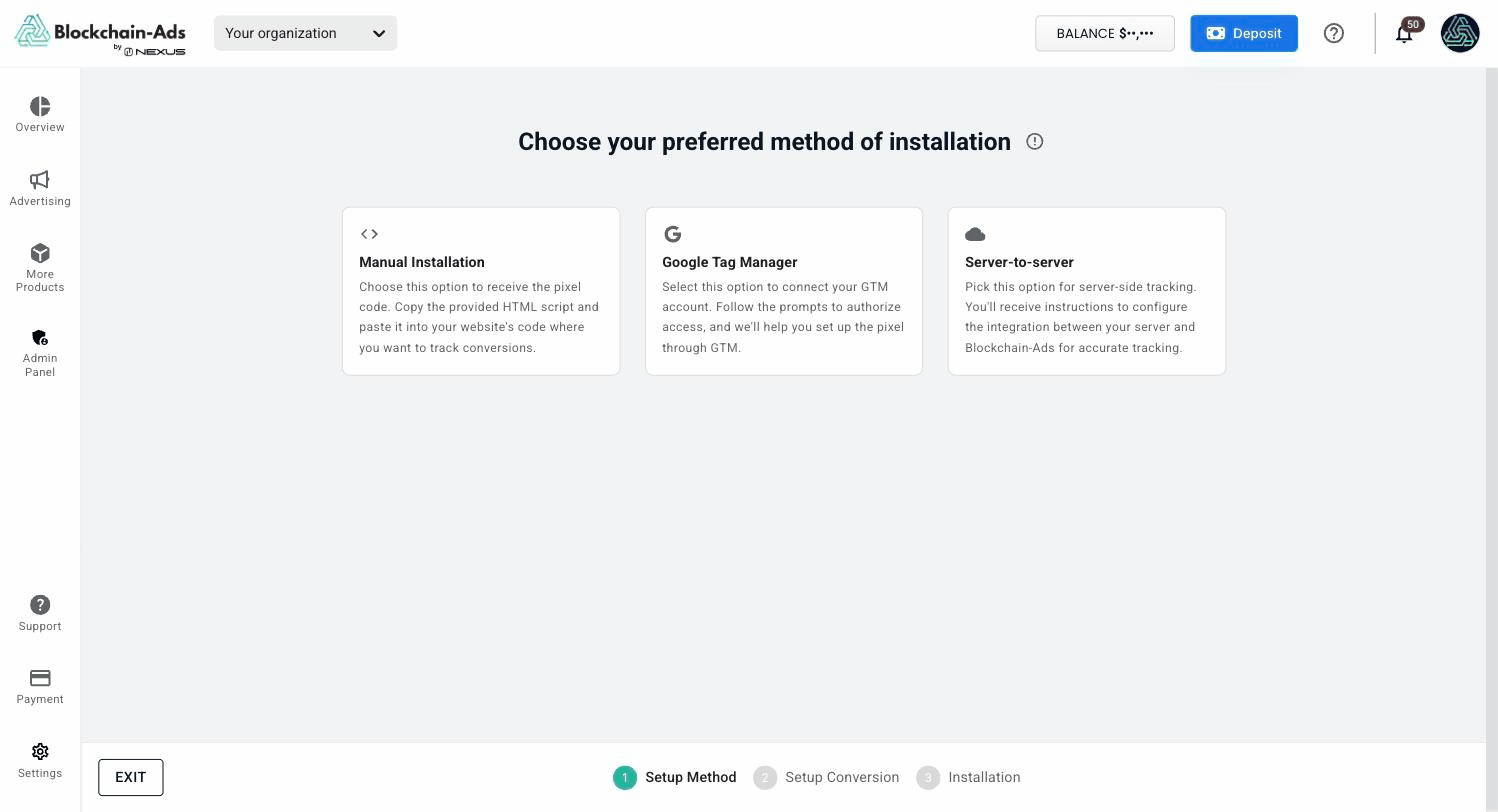
| Method | Type in HUB | Choose it when |
|---|---|---|
| Manual (pixel) | Manual | You can edit your site's HTML |
| Server-side (S2S) | Server-Side | You want the most accurate attribution, including for app and off-site events |
| Google Tag Manager | Gtm | You already manage tags in GTM and want to add the code as a Custom HTML tag |
Manual (pixel)
Place the Blockchain-Ads pixel directly in your site's HTML. Open your conversion in Tracking > Conversions and click the code icon to copy the snippet. Manual pixel installation covers it.
Server-side (S2S)
Your backend calls a URL when the conversion completes, so the event never depends on the visitor's browser. Server-to-Server Installation covers it.
Google Tag Manager
Add the pixel as a Custom HTML tag in your existing container. Google Tag Manager installation covers it.
What every method shares
Every conversion has a Tracker ID, shown in that column of the Conversions table, and it identifies which conversion fired. Whichever method you use, Status moves from Unverified to Verified when a real event arrives.
The method is fixed once the conversion is created, and the Type column records it as Manual, Gtm or Server-Side. To change method, create a new conversion.