Welcome to Blockchain-Ads Publishers! This guide will help you set up your account and start earning revenue from your website in just a few simple steps.
Step 1: Create Your Publisher Account
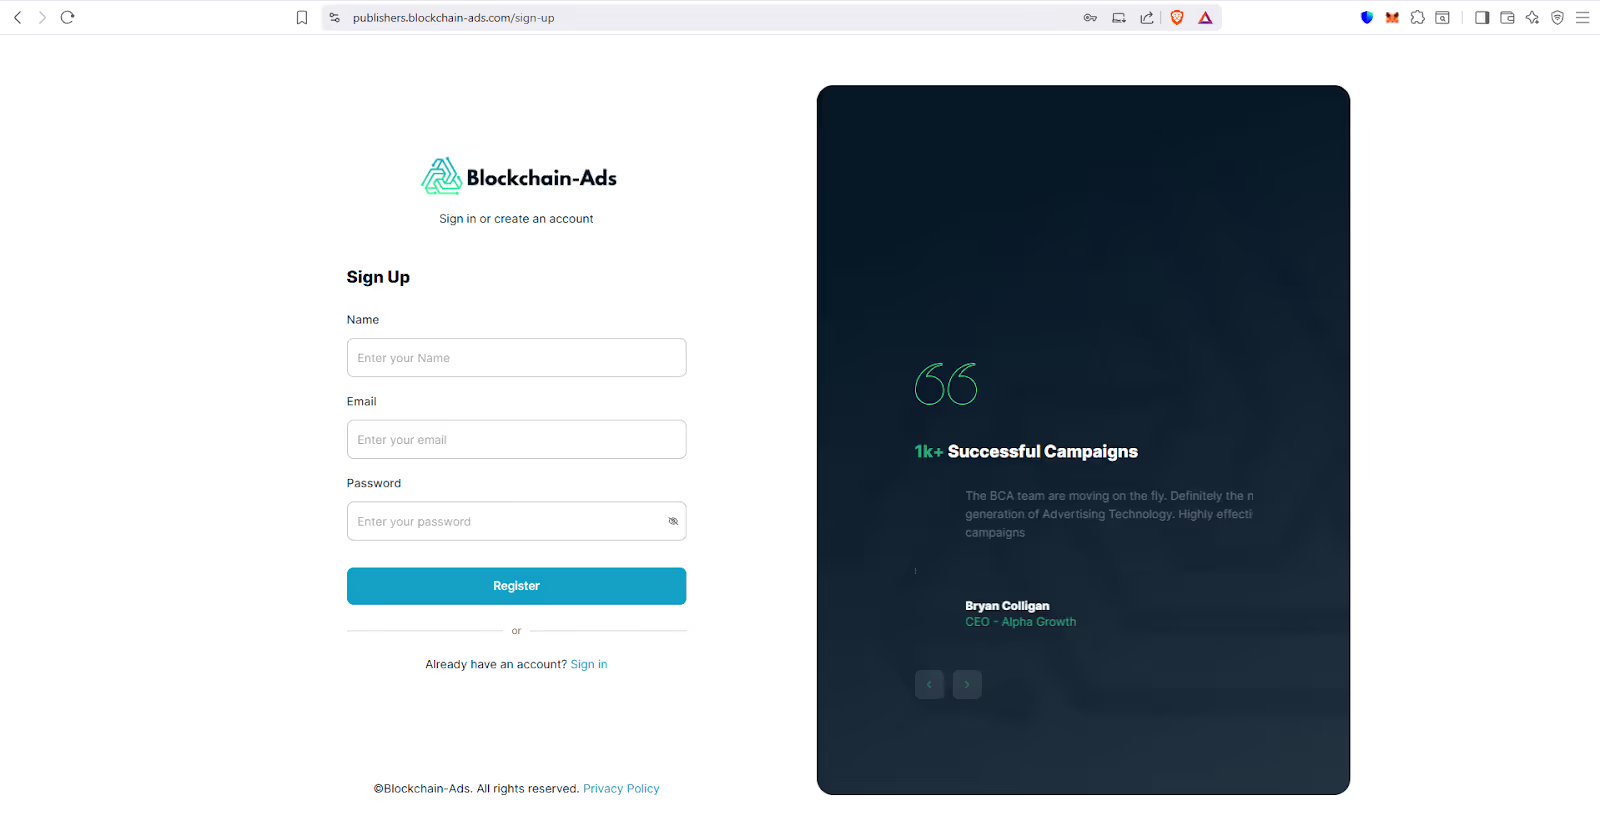
Go to https://publishers.blockchain-ads.com/sign-up and fill in your name, email, and a secure password. Click Register, then check your email to verify your account. Once verified, you'll be taken straight to your new dashboard.
Step 2: Add Your First Website
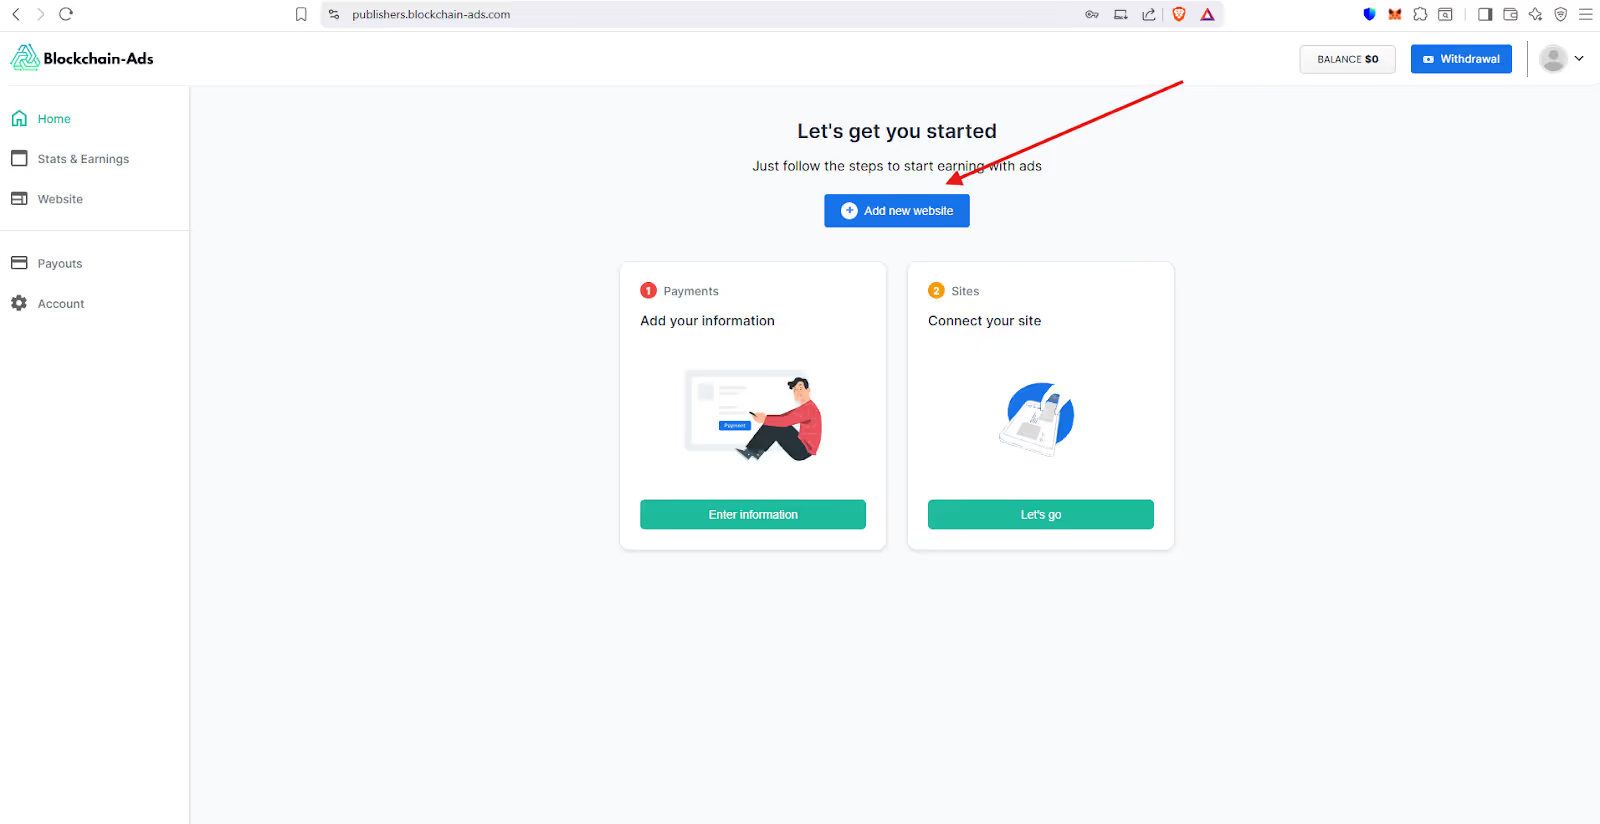
When you log in, you'll see a welcome screen with an "Add new website" button. Click it to get started.
Step 3: Enter Your Website Details
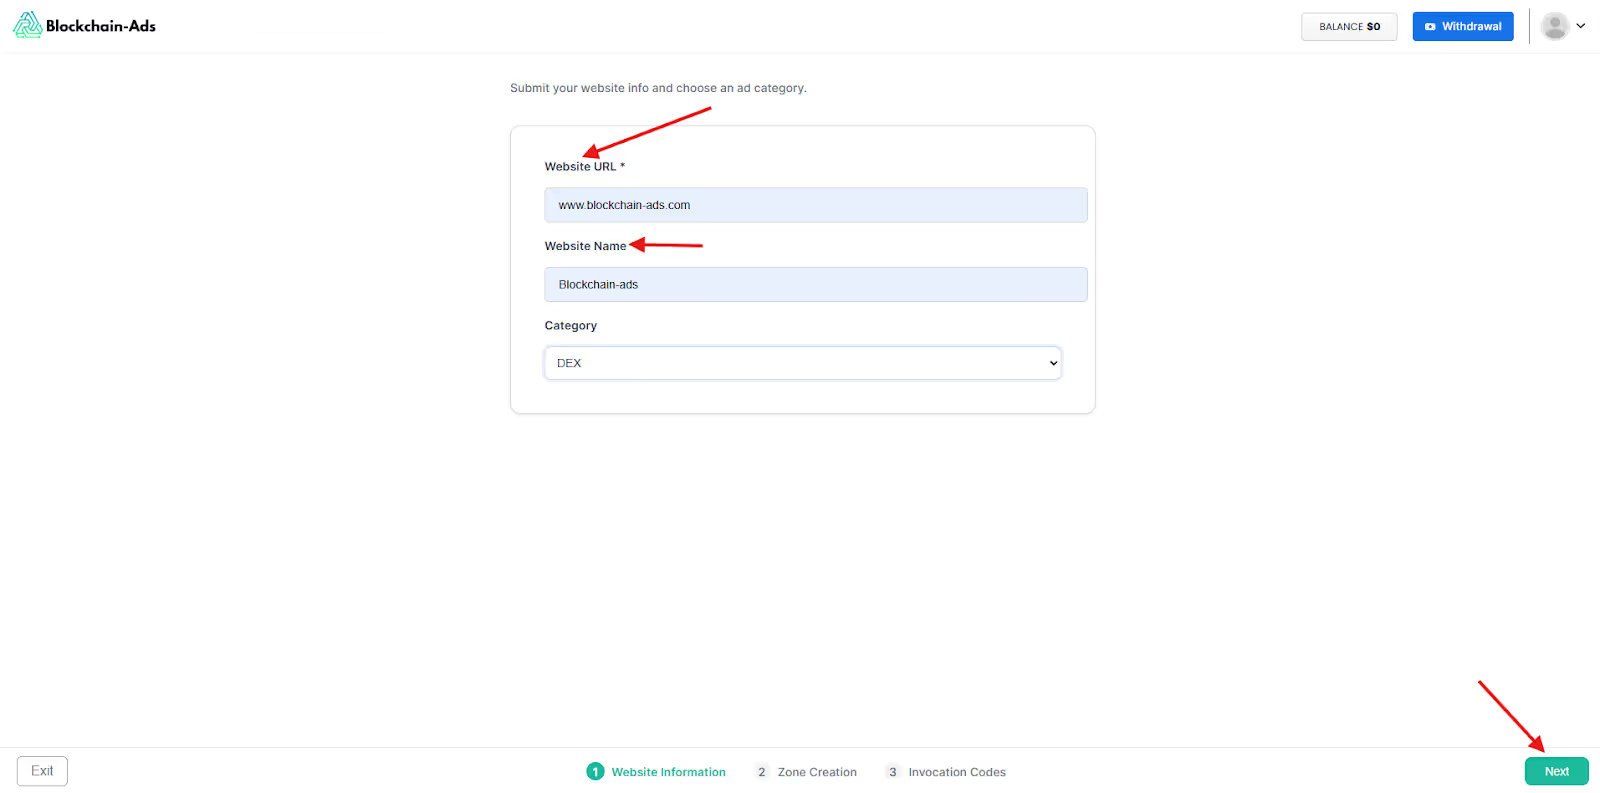
You'll need to provide:
• Your website URL (like www.yoursite.com)
• A name for your website
• The category that best describes your content
Fill these out and click Next to continue.
Step 4: Create Your First Ad Zone
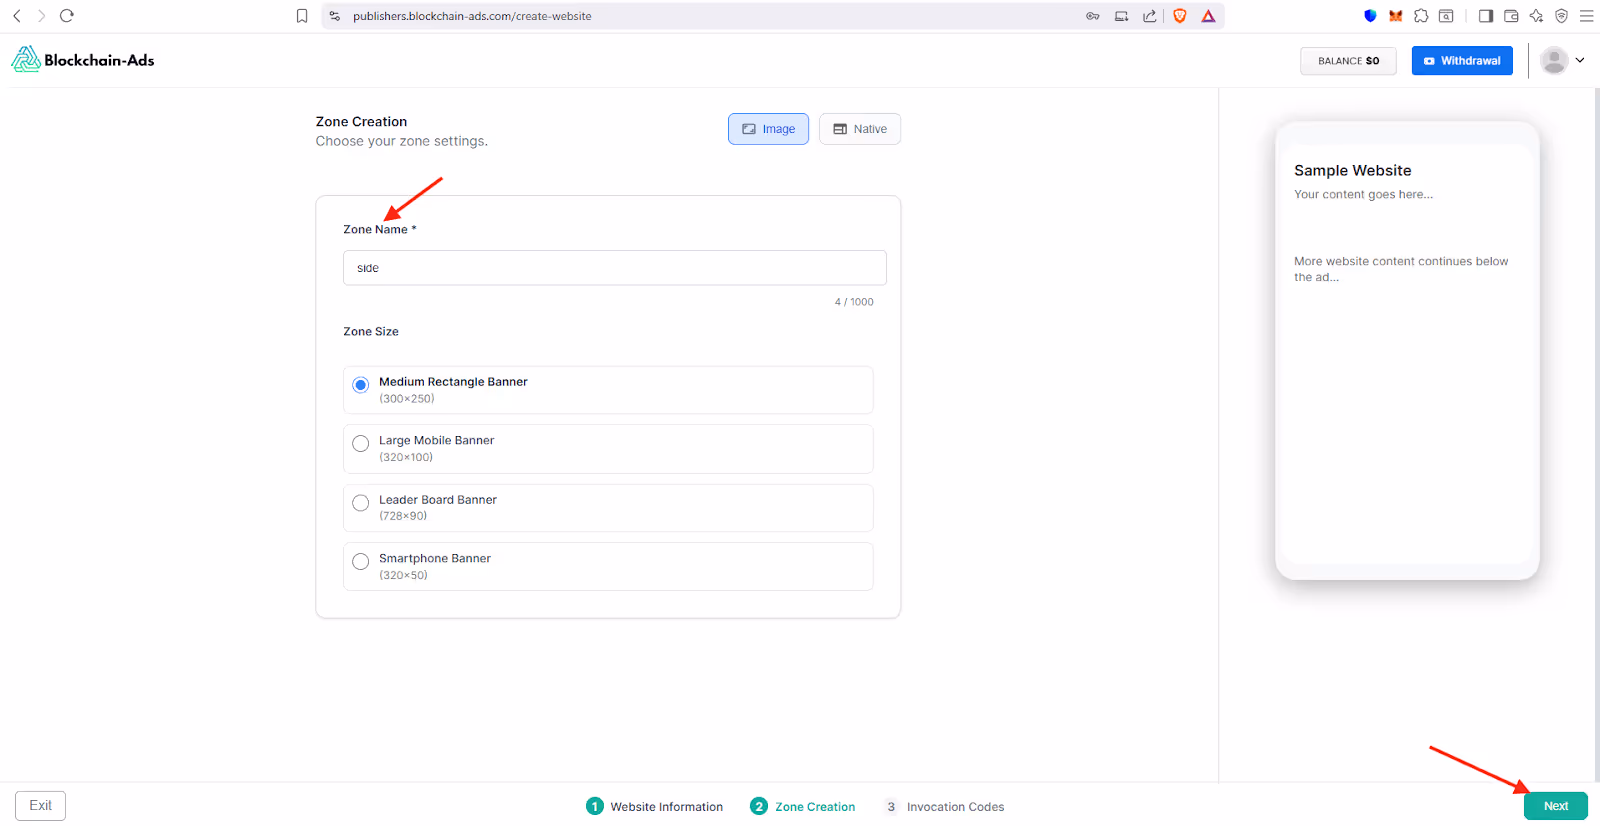
An ad zone is where ads will appear on your site. Give it a clear name like "Sidebar Ad" or "Header Banner," then choose the ad size that works best for your layout:
• Medium Rectangle (300x250) - great for sidebars
• Large Mobile Banner (320x100) - perfect for mobile sites
• Leaderboard (728x90) - ideal for headers
You'll see a preview of how it looks. When you're happy, click Next.
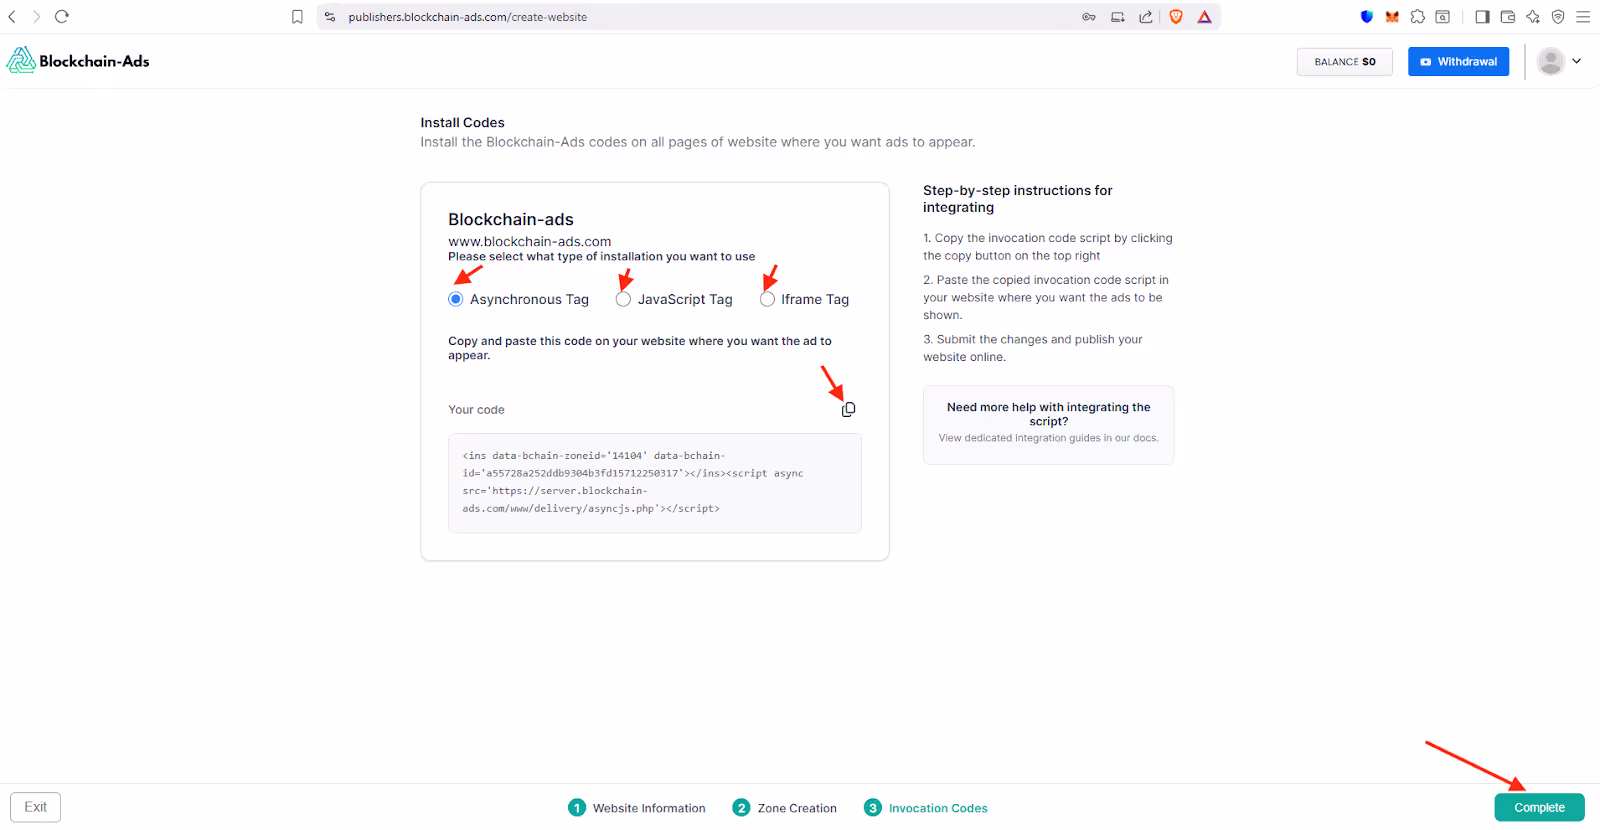
Step 5: Get Your Ad Code
You're almost done! Now you'll get a snippet of code to add to your website. Choose Asynchronous Tag (it's the fastest option), then copy the code that appears.
Paste this code into your website's HTML where you want ads to show up. If you use WordPress or another CMS, you can usually add this in a widget or custom HTML block. Click Complete when you're done.
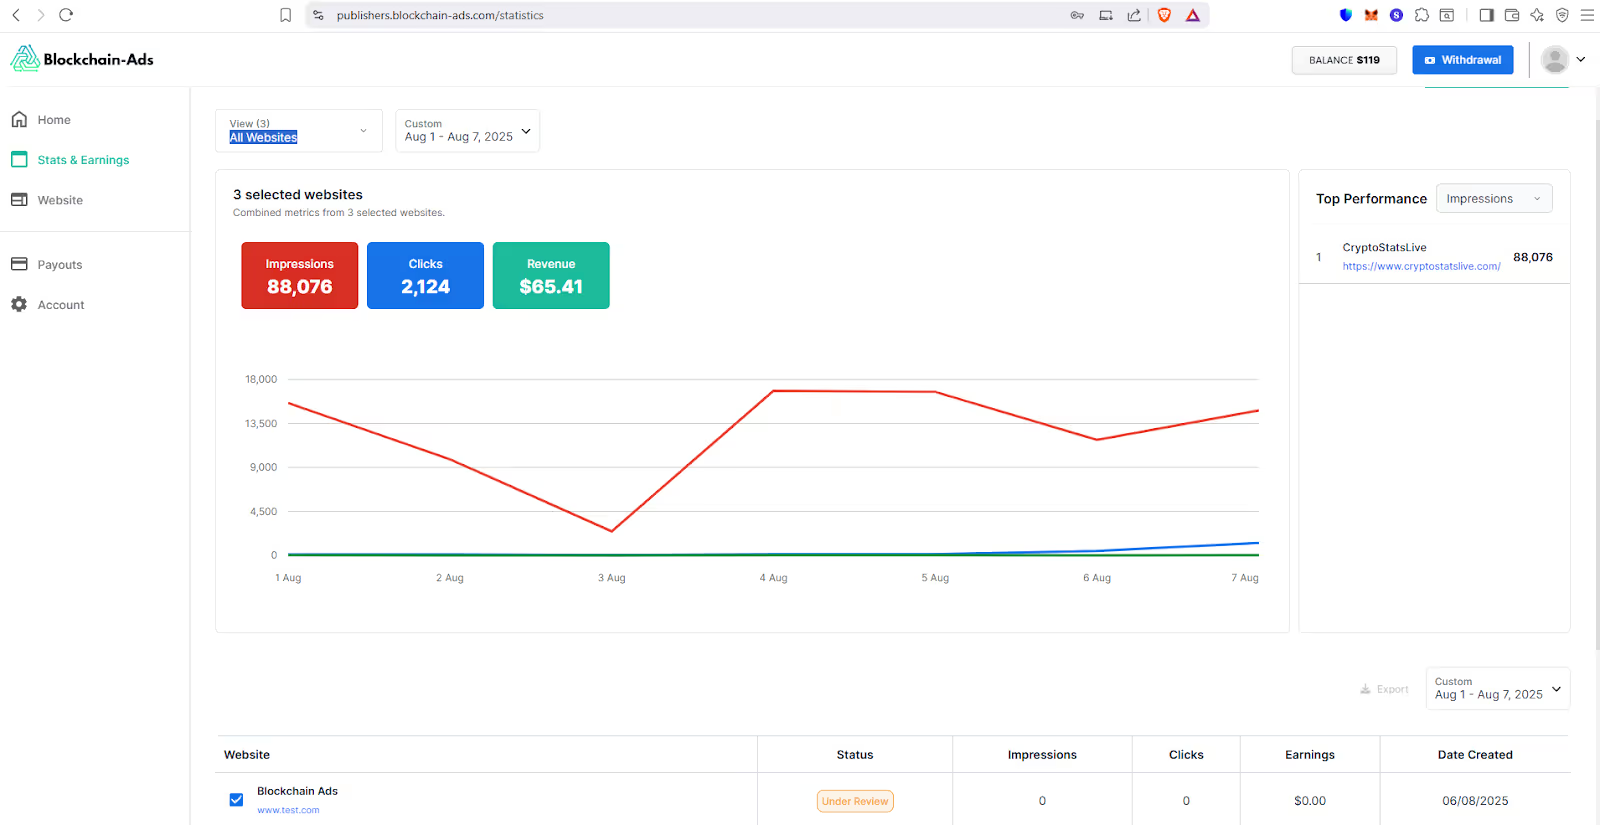
Step 6: Track Your Earnings
Once your ads are live, visit the Stats & Earnings page from the left menu to see how you're doing. You can:
• Filter by website if you have multiple sites
• Choose different date ranges to see your performance
• Track impressions (views), clicks, and revenue over time
The graph shows your daily performance with color-coded lines for easy tracking.
You're All Set!
Congratulations! Your account is ready, and your ads are running. You'll start earning as visitors interact with the ads on your site. If you need help at any time, check out our Help Center or contact support.